How to Build a Gravel Driveway

Gravel is a cost-effective and attractive option for homeowners looking to update their driveway. Additionally, gravel driveways are low maintenance, frost-resistant, provide excellent drainage and come in a multitude of styles and colours.
Because of this, gravel is a timeless driveway material that will complement most properties, including new builds and established homes. Sound good? If you’re thinking of installing a gravel driveway and want to know the ins and outs of what’s involved, keep reading…
In this guide, we’ll teach you how to build a gravel driveway from the ground up – literally. From selecting stones to creating a subbase and laying the stones, here’s how to go about it.
What types of stones can be used as driveway gravel?
Before we dive into how to construct a gravel driveway, it’s worth touching on the most suitable stones to use. While paths and rockeries often utilise small, rounded, pebble-like gravel, these typically aren’t the best chippings for a gravel driveway.
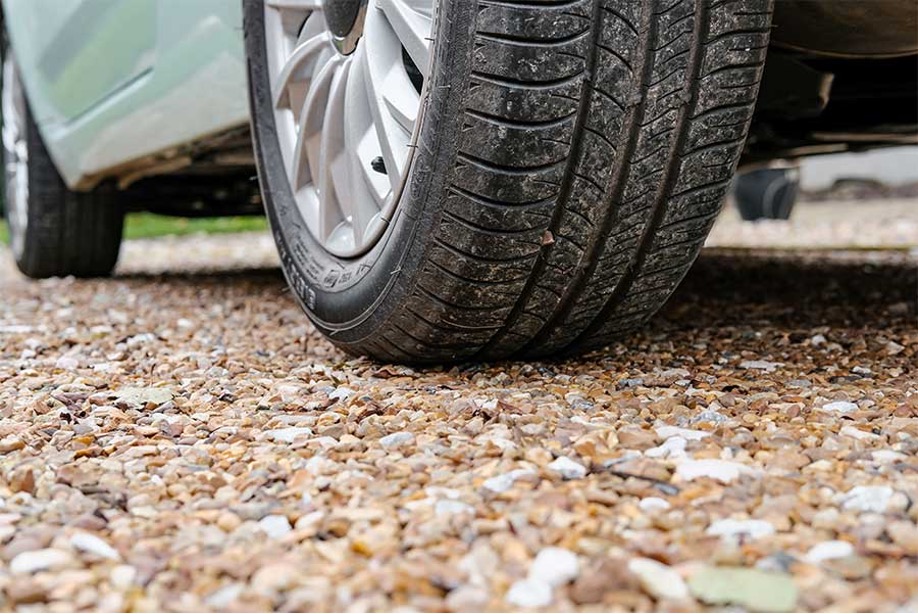
Instead, opt for coarse driveway stones screened to around 20mm in size, with sharp or rounded edges depending on whether you want a smooth or textured finish. These gel together better to create a sturdy base for vehicles and won’t disperse or get stuck in your tyre treads as much. But don’t go any bigger, larger stones are impractical for gravel driveways.
You should also consider the type of stone that the gravel is made from. Harder materials like granite and flint are the most recommended gravel for driveways. Both are highly durable and stand up well to being driven and walked over regularly. Limestone gravel may also be used, as this is a softer stone it can wear down – especially when exposed to the elements – so may need topping up more frequently.
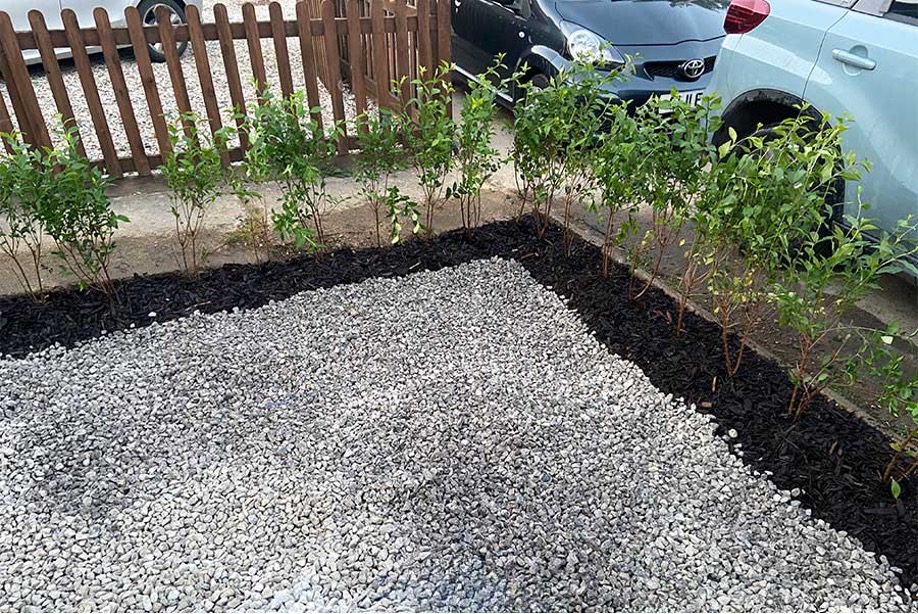
Finally, you’ll need to narrow down a style and colour to complement your home’s brick or stonework and any garden features. Black, white, and grey gravels offer a contemporary look, while buff, brown and rust tones are warmer and more rustic. Meanwhile, multi-tonal driveway stones add interest and disguise dirt well but are too busy for some. The choice is yours!
How to prepare a gravel driveway from scratch
Measuring & calculating the amount of gravel you need
The first step in building a gravel driveway is to work out the size of the area you’re working with. And then, how much gravel you’ll need to cover it. To do this, mark out your planned driveway with line marking paint, then measure the length and width of the space. Next, multiply the two figures together to get the area in square metres – e.g. 5m x 10m= 50m².
From there, you can either order multiple small bags or a large bulk bag as needed. For example, a full 850kg bulk bag of our Gold Flint gravel will cover around 10-12m² at a depth of 50mm. And a half jumbo bag will cover about 5-6m² at a depth of 50mm. Or you could use several 23kg small bags for a small driveway or path, which are currently 5 for the price of 4.
Browse all our driveway gravel options online for individual prices and coverage estimates.
Tip: order 10% more gravel than you think you’ll need to account for any uneven dips or irregularly shaped sections. Although a 50mm gravel depth is fine for regular traffic, it is worth increasing this to 70mm for high traffic or heavy vehicles. Any that you don’t use can be saved for refilling at a later date.
Digging out the driveway ready for construction
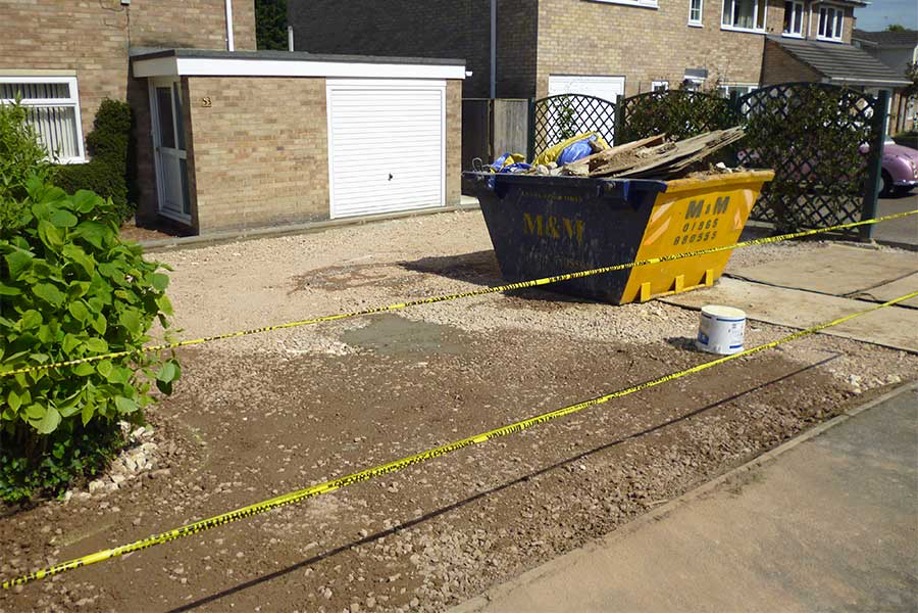
Once you’ve marked out the area for your new driveway, you’ll need to dig out the earth to accommodate it. This includes making space for the foundation and a layer of gravel on top.
Firstly, you’ll need to remove any existing gravel, slabs or turf from the surface. Then, provided you aren’t reusing an old subbase, you’ll need to dig 200mm (20cm) down to firmer soil which you’ll build the foundation on. With that in mind, we’d strongly suggest hiring a skip for the early stages. This will give you more room to work as you’ll be able to remove the debris as you go.
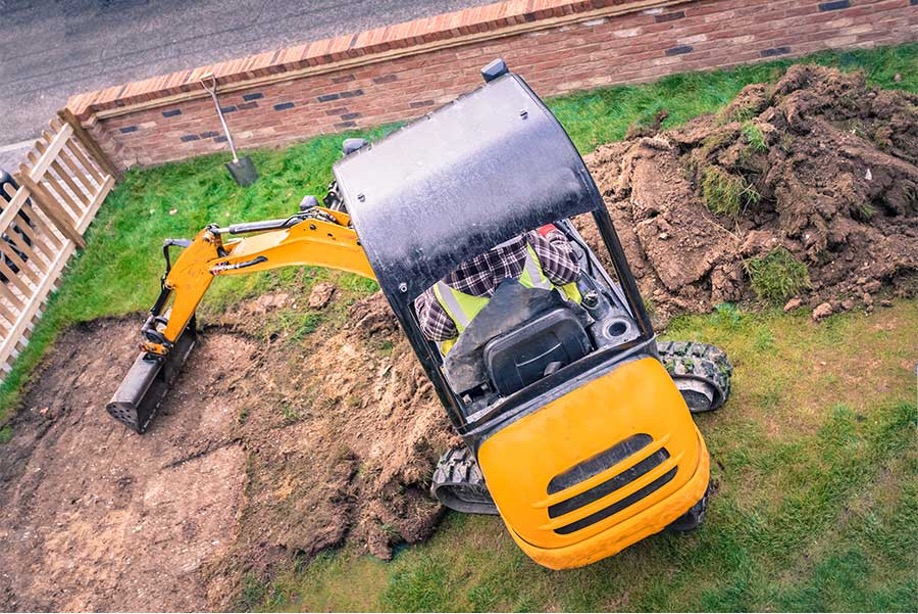
Depending on the size of your drive, you may be able to dig it out by hand. But given the labour involved, using a small excavator will speed up the process and make it much easier. Either way, be careful not to disturb any service pipes or cables while you’re digging. You can hire or buy a CAT scanner to check for them if you’re not sure where they’re located.
When the excess soil and old surface materials have been removed, compact the base well with a tamper or roller. This will ensure the ground is even and stable, ready for the subbase.
Install membrane and edging stones (if needed)
At this point, you should cover the soil with a hardwearing weed control membrane. This will separate the soil from the aggregate subbase and help to stabilise your drive’s foundation*.
Then you can move onto installing edging or kerb stones to secure it and contain the gravel. Apply a thick layer of mortar around the edges, embed the stones and leave to dry fully before installing the subbase. (If your drive has walls on each side, you don’t need to do this. However, it’s especially important to add edging if the gravel leads onto a lawn as it can easily spill over and damage your lawn mower).
*NB: Many people place weed membrane on top of the subbase to keep their gravel cleaner and reduce the number of weeds taking root from above. This works fine for garden paths, but for drives and high traffic areas, it’s best to position it under the MOT as a ground stabiliser. Also, if placed on the membrane, the gravel is more likely to slide around when driven over.
Prepping the subbase for your gravel driveway
To make sure your drive can withstand the weight of vehicles and won’t subside over time, it needs a robust foundation. Also known as the subbase, this is built using compacted hardcore – specifically MOT Type 1. Made from crushed limestone, MOT Type 1 subbases are sturdy yet porous, allowing rainwater to run through the gravel and soak away. And since all new driveways over 5m² must be permeable, this clever design also meets building regulations.
A 850kg bulk bag of MOT Type 1 will cover approximately 8-10m² at a depth of 50mm. Start by applying a 75mm layer of the hardcore across the entire surface, then compact with a wacker plate. This will crush any larger pieces and help the stones to knit together. Repeat the compacting step several times to ensure there is no loose hardcore left that could shift.
When you’re happy the initial layer is stable, apply a second layer of MOT Type 1 to raise the subbase to a height of 150mm. Compact well again, then check that the subbase is flat using a spirit level. Fill in any dips with a little more hardcore and use the wacker plate to even out.
Laying the decorative gravel to complete your drive
Once all the preparation has been completed, laying the gravel is the easy part! Provided your driveway is flat, simply pour or shovel your gravel (depending on the size of the bag) directly onto the subbase. Work in stages, starting from corner to corner, raking the gravel as you go to make sure it is even and there are no large gaps.
Repeat this step, adding layers until you achieve a depth of around 5cm (50mm). This should fill the remaining space between the subbase and surface. When you’re done, hose down the gravel gently to remove any dust and enhance the colour of your chosen driveway stones.
Tip: a top gravel layer of 5-6cm is recommended for regular vehicles, this can be increased slightly to 7cm for heavy vehicles, any deeper and tyres may cause ruts to appear in the gravel.
Do I need to use plastic grids on my gravel driveway?
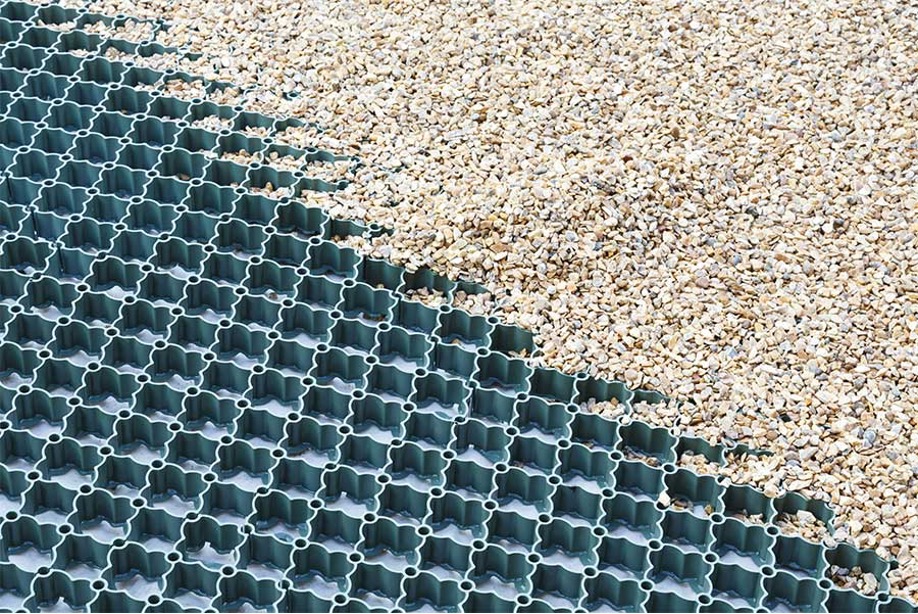
If you’re wondering how to build a gravel driveway on a slope, then plastic gravel drive grids like the TDP Porous Pave System are key. Made from durable, shockproof plastic (100% recycled), these interlocking grids help to prevent the gravel migrating, resulting in a neater finish. Their hollow design also allows water to drain away as you’d expect from a permeable gravel driveway.
In addition, gravel drive grids help to stabilise gravel surfaces and can be used on flat driveways too. In fact, they’re particularly useful if you’re going to be parking heavy vehicles on them. Porous Pave even has an HGV load bearing capability! By distributing the weight more evenly, you can reduce rutting and the need for frequent raking and refilling.
To install, rake a single layer of gravel onto the subbase to start. Then place your plastic grids for driveways system on top, working in rows and connecting each section to the next using the lugs and slots. As they are designed to cover exact metres square, you may need to cut the grids down to get an exact fit against the kerb stones at the edges. But try not to avoid reducing them by more than 50% their original size as this may reduce their strength.
Once the driveway is covered, fill the grids in with gravel working from one side to the other. You may find it easier to sweep it in with a stiff garden brush or rake. (The weight of the gravel will hold the grid system in place, along with your edging stones, so you don’t need to secure it to the subbase). When all of the grids are full, even out the top layer with the rake and check the grids are no longer visible. Then rinse lightly with a hose as above.
How to clean and maintain a gravel driveway
While gravel driveways are relatively low maintenance, there are things you can do to keep yours looking it best. Firstly, you’ll want to remove debris from your gravel every 1-2 weeks and more in autumn when leaves and twigs are falling. Debris and seeds can also blow in amongst the stones in the wind and get trapped, encouraging weeds to grow.
To prevent this and keep your driveway tidy, use a spring tine leaf rake to collect anything that shouldn’t be there. This will also help to uproot any weeds so that you don’t have to pull them out by hand. Yet it shouldn’t displace the gravel too much. For dry leaves, you could use a leaf blower instead, but make sure it’s on a low setting or you will scatter the gravel out of position. You can then rinse it down with the hose to remove any leftover dust or dirt residue.
If ruts appear, for instance from parking in the same spot, use a sturdier rake to spread it out evenly. You’ll have to rake your gravel every so often anyway to keep it neat as it gets trodden in. But if the holes are particularly deep, you may need to dip into your spare stash of gravel and refill them. However, you should only need to add more gravel every couple of years.
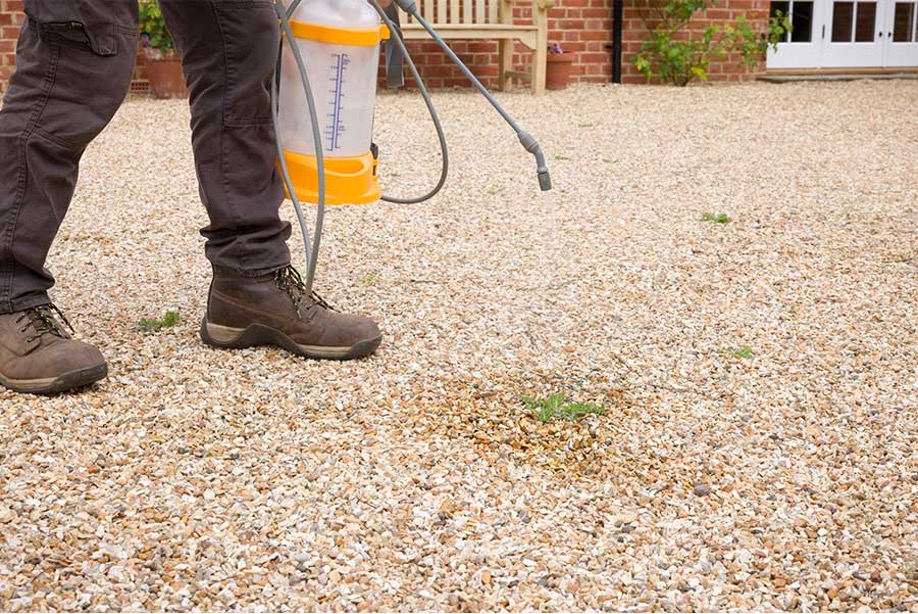
Tip: Struggling with weeds but don’t want to apply weed killer all over your driveway? Try sprinkling rock salt – a great natural weed killer – over the weeds instead. This should kill them in a matter of days and will slowly soak into the subbase to help prevent them growing back.
Construct a gravel driveway with the help of AWBS
Whether you’re looking for decorative gravel, kerb stones or construction aggregate, AWBS can help. We stock everything you need to build a gravel driveway from scratch. And better yet, our prices are very competitive as we operate our own gravel and aggregates bagging plant. As such, we are able to supply small bags to bulk bags and even half bulk bags of driveway gravel as required.
On top of that, local residents living within 25 miles of our branches in Oxford, Yarnton and Swindon can benefit from our free and fast delivery service. There is no minimum order value and you can order online from home or visit us in store. Check your household’s eligibility now.